Monday, 1 December 2014

Advent Dollhouse Day 2


Today, Venus the Cat hurries to wrap gifts in time, getting into a tangle...more tomorrow!


Advent Dollhouse Day 1


Happy first of advent, and start of the Christmas season! 


On the first day of the season, Topaz the Turtle skates on an icy lake in the middle of a wintery wood. The backdrop is cut from magazine pages, the trees from crafting paper and the snow toy stuffing. More doors to be opened tomorrow!


Thursday, 6 November 2014

Dollhouse Avent Calendar Project


There are some very creative Advent Calendar’s out there. One I’ve seen was a Christmas Carol theme, consisting of tiny booklets that told the Charles Dickens’s classic and doubled as tree ornaments. Another was a Lego one, where each day you got a new piece that made up as festive play set. 


For years I’ve been wanting to create my own Advent Calendar. One that has that fun 3D depth to it, holding a little surprise behind each door, not just a picture or a chocolate. 


This year, that idea will come into being! I’m planning to make a kind of ‘Dollhouse’ advent calendar. 24 boxes, each with a tiny festive scene featuring a Littlest Pet Shop animal inside. They’re so cute, and the perfect size for a project like this!
I’ve done some sketches for different scenarios for each day-some more festive (wrapping presents) than others (shopping?). Though it means my LPS collection will have to grow to fill all 24 days.
I’ll post a tutorial shortly on making a basic box. Since they’ll be made in bulk, the simpler the idea, the better. 


Thursday, 30 October 2014

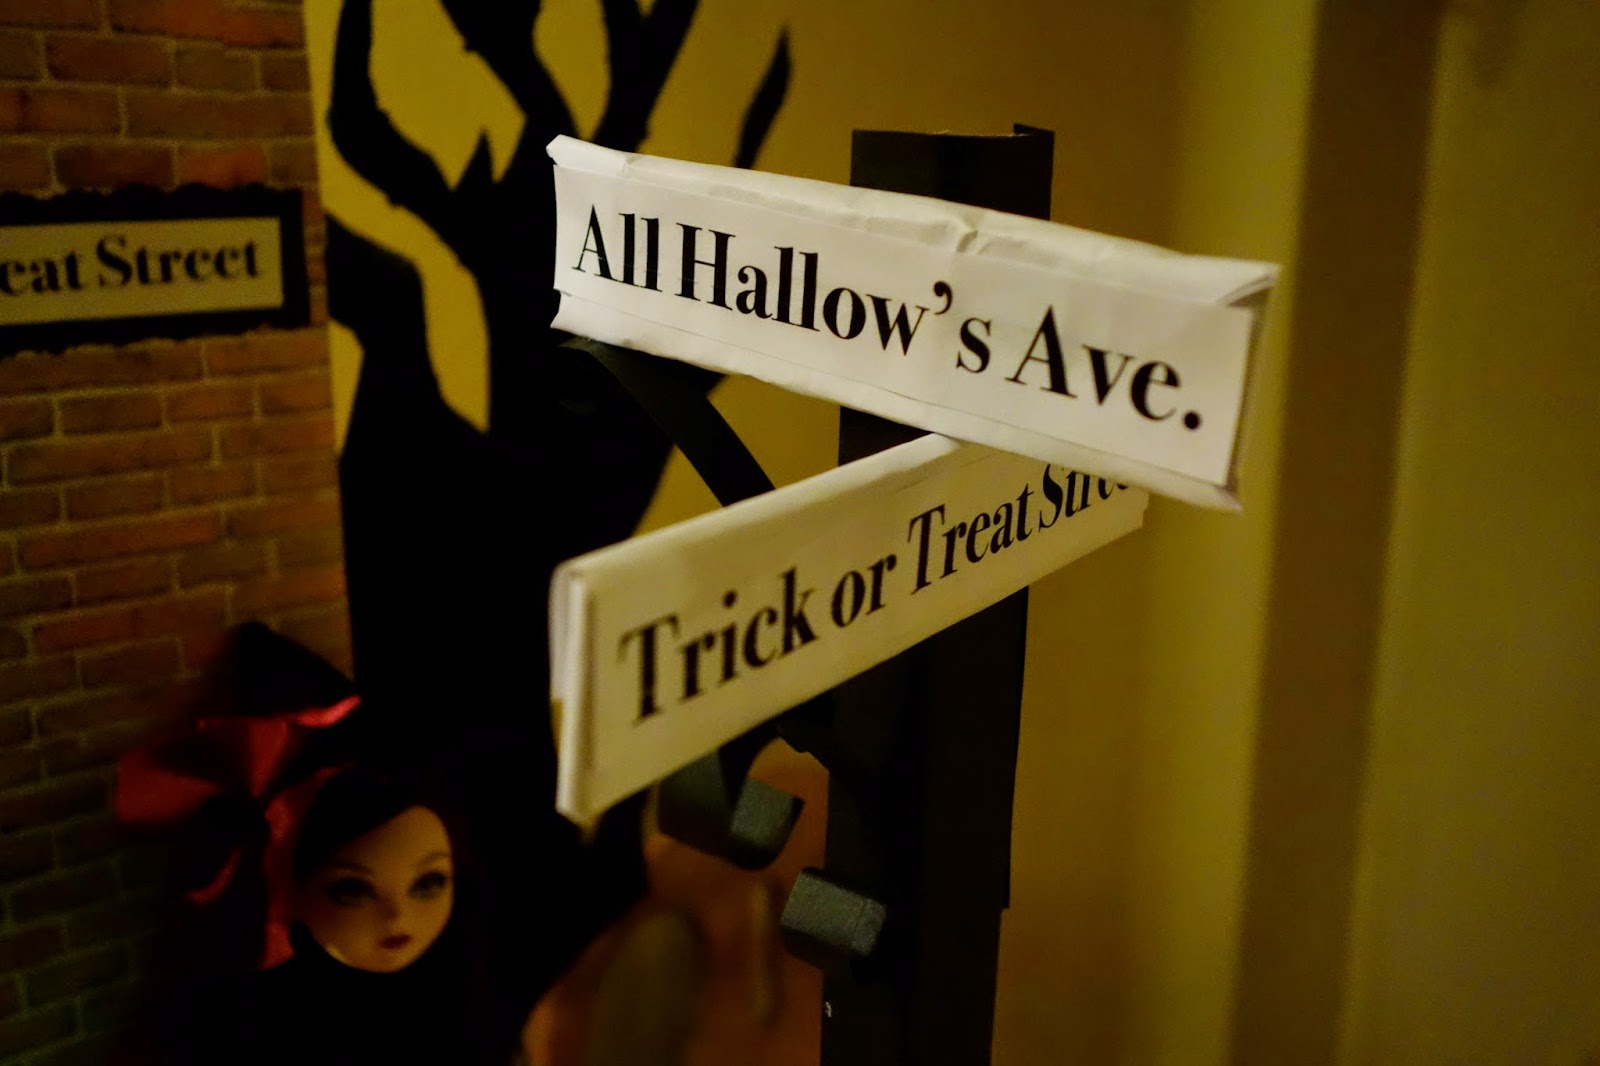
Trick or Treat Street Display


This display came out beautifully! Took me a whole month to put together, the set and individual costumes, but totally worth it. 

For those visiting, Trick or Treat Street is adjacent to All Hallow’s Avenue.

What’s best is the fact is the lighting-some battery run candles create the illusion of the windows of the house glowing from inside! The green lights add a cool eeriness to the outside.


The houses themselves were a challenge. They need a lot of support from behind to stay upright, plus to create the illusion of depth lighting was added. Cutting holes where the windows and door panels would be and gluing down these stain glass printable windows around the rim allow the lights to come through. The front steps made it realistic, and for the house with the open door where Blair offers treats, I posted a page from a Design magazine on the inside to suggest the house’s interior.


What street would be complete at Halloween without some tricksters toilet-papering a tree? Hermione and Nikki sure agree!


The outfits were fun to put together, and though maybe not specific to my original designs, it really felt truly like putting together homemade costumes for Halloween, including have to shuffle through past outfits to find certain pieces that would work!
Overall, my most ambitious and fabulous Halloween display yet-Happy Halloween, everyone!


Sunday, 12 October 2014

Halloween Collection 2014 Revealed: Trick or Treat Street


Now officially kicks off the Halloween season, and as usual I’m totally stoked! Especially as I’m already working on my annual doll display. After the reaction I got from last year’s Salem Witches presentation I knew I have to apt up my game. And with the roll I’ve been on making doll dioramas, the possibility of building a whole set is doable.
This year’s concept is Trick or Treat Street. I love it how, without fail every year, as the huddle of children flock to the streets for their annual candy hunt, without fail there are always those certain costumes that come up. Think about it; every year I mentally check off the Princess, the Witch, the Superhero from Whatever Blockbuster Was Big That Summer, even Darth Vader. And the highlight of embarrassment, the toddler as a pumpkin. So I thought of creating a still shot of that mental picture, that nostalgic joy of children’s biggest thrill about All Hallow’s Eve; FREE CANDY. I’m envisioning the girls roaming through the suburban neighborhood on a dark foggy night, candy bags in tow as they go house to house. I’m trying to keep the costumes simple, like they’re homemade.
I did a series of watercolors, so I’d have some visual concept in mind of what I wanted. And the cast’s natural color palette actually really fell nicely into each role. Here are the watercolors paintings of my Halloween collection 2014;


Megan as the Vampire Girl


Klara as a Witch


Willow as a Pumpkin


Mina as a Princess


Glimmer as a Demon


Nikki as a Skeleton


Blair as Ghost Girl


Euphemia as a Cat


Hermione as a Mummy


Hope as a Fairy

Thursday, 28 August 2014

August Doll Review: Lizzie Hearts aka Megan Mac


Just received the latest addition to the Manor; Ever After High Lizzie Hearts or, as I’ve renamed her, Megan Mac, daughter of Eris, the Goddess of Chaos.
The doll itself looks great! She’s been one of the characters I’ve been anticipating getting since last summer. Seriously, Mattel introduced WAY too many characters and hasn’t been able to produce the dolls fast enough! Like when are they finally going to come out with Kitty Cheshire?!
Lizzie is exactly as I picture Megan-outrageous in style, loud n’ proud! Especially her heart shape around her eye. It’s a nice touch from the heart shape on the lips characters like Cupid and Cedar Wood have had-it just makes their expression seem so severe somehow. I’m very tempted to repaint those aqua blue eyes a subtle gold or amber. Or even green! 
Her dress design is gorgeous, complimenting the traditional design of playing cards, from her ruffle to the peplum skirt details. The cut of the dress is simple, but so well embellished. Her accessories are quirky, like her matt black hand gloves, heart decorated tights and above all, probably the most demanding and eye catching crown featured amongst the royals of Ever After High yet! Sure, Apple and Briar are Princesses, but here is a Queen.
Her hair is the one problem. It came out very frizzy and knotted, and I’m having a heck of a time brushing it smooth without ripping strands from her scalp! Also the rolls on top of her head, in the cartoon set in a heart shape, aren’t quite so obvious as I feared. But yes, I’ll brush them out eventually!
Overall I really thought the details of the doll characters would restrict her transition as one of my characters. But really she’s pretty much fits my vision for Megan Mac. Bio to come!

Wednesday, 20 August 2014

How to Make a Bunny Pen (with detachable hut)


As part of the manor, I’m putting together a little pet day camp area, for the girl’s to leave their little companions when they’re out doing their jobs. Making this little pen, complete with a detachable hut and grass for any doll pet, was really fun and easy to put together. I think making these pet dwellings has become my favorite piece in each room!
Materials:
Cardboard
Printouts of a woven basket design
Glue
Scissors and/or craft knife
Bottle top


1)Cut and paste your grass printout to the square footage you want for your pen onto cardboard (mine was 10cm x 10cm). The thicker the cardboard the better!


2)Measure out the outline of the grass flooring of the pen for the fencing-they can be individual pieces for each side, or one long together . I made mine 10cm x 2.5cm. When the cardboard is cut, paste in onto the basket printout on one side, then fold it and paste on the other side before cutting it all out.


3) Paste the fence border upright around the grass square.


4) For the detachable hut, cut out a long card piece to curve for the hut roofing. Draw the outline of it’s curve onto another piece of card, being sure to keep its width within the borders of the grass square.


5) Cover the back and the roofing of the hut in the basket printout, then paste the two pieces together.


6) Using scrap cardboard, cut out stripes for straw, and use a bottle top for a water bowl. Put all together and introduce your pet to its new home!