Thursday, 28 August 2014

August Doll Review: Lizzie Hearts aka Megan Mac


Just received the latest addition to the Manor; Ever After High Lizzie Hearts or, as I’ve renamed her, Megan Mac, daughter of Eris, the Goddess of Chaos.
The doll itself looks great! She’s been one of the characters I’ve been anticipating getting since last summer. Seriously, Mattel introduced WAY too many characters and hasn’t been able to produce the dolls fast enough! Like when are they finally going to come out with Kitty Cheshire?!
Lizzie is exactly as I picture Megan-outrageous in style, loud n’ proud! Especially her heart shape around her eye. It’s a nice touch from the heart shape on the lips characters like Cupid and Cedar Wood have had-it just makes their expression seem so severe somehow. I’m very tempted to repaint those aqua blue eyes a subtle gold or amber. Or even green! 
Her dress design is gorgeous, complimenting the traditional design of playing cards, from her ruffle to the peplum skirt details. The cut of the dress is simple, but so well embellished. Her accessories are quirky, like her matt black hand gloves, heart decorated tights and above all, probably the most demanding and eye catching crown featured amongst the royals of Ever After High yet! Sure, Apple and Briar are Princesses, but here is a Queen.
Her hair is the one problem. It came out very frizzy and knotted, and I’m having a heck of a time brushing it smooth without ripping strands from her scalp! Also the rolls on top of her head, in the cartoon set in a heart shape, aren’t quite so obvious as I feared. But yes, I’ll brush them out eventually!
Overall I really thought the details of the doll characters would restrict her transition as one of my characters. But really she’s pretty much fits my vision for Megan Mac. Bio to come!

Wednesday, 20 August 2014

How to Make a Bunny Pen (with detachable hut)


As part of the manor, I’m putting together a little pet day camp area, for the girl’s to leave their little companions when they’re out doing their jobs. Making this little pen, complete with a detachable hut and grass for any doll pet, was really fun and easy to put together. I think making these pet dwellings has become my favorite piece in each room!
Materials:
Cardboard
Printouts of a woven basket design
Glue
Scissors and/or craft knife
Bottle top


1)Cut and paste your grass printout to the square footage you want for your pen onto cardboard (mine was 10cm x 10cm). The thicker the cardboard the better!


2)Measure out the outline of the grass flooring of the pen for the fencing-they can be individual pieces for each side, or one long together . I made mine 10cm x 2.5cm. When the cardboard is cut, paste in onto the basket printout on one side, then fold it and paste on the other side before cutting it all out.


3) Paste the fence border upright around the grass square.


4) For the detachable hut, cut out a long card piece to curve for the hut roofing. Draw the outline of it’s curve onto another piece of card, being sure to keep its width within the borders of the grass square.


5) Cover the back and the roofing of the hut in the basket printout, then paste the two pieces together.


6) Using scrap cardboard, cut out stripes for straw, and use a bottle top for a water bowl. Put all together and introduce your pet to its new home!


Wednesday, 13 August 2014

Klara's Room Tour


I’m happy to finally debut the last few months of my doll art in my ‘Manor’, the residence for my girls while they’re living here in the mortal realm. And the start it off would be the girl who first came to the Manor-Klara, the daughter of Hades and Persephone. 
Having lived in the Underworld all her life, Klara’s room has a gothic, old world concept in it’s design. I had the idea that her parents did the decorating, so maybe it’s a little ‘regal’ for her taste. But the concept does tie into her vintage and antique business.
The inspiration for the room came from the castle interiors of Disney’s Sleeping Beauty. I love all the richness in the backgrounds in the film, from the raw stonework on the walls to the rich tapestries and hangings. 
I’ve used this printout of this gorgeous black marble before, and instantly suggests the stonework of the room structures, in the archways and the grand bed.
The bed’s overall shape came from Chad Alan’s Frozen Anna bed tutorial, but I added more gothic details in the curves posts. Klara looks completely at home chilling on it! It’s a simple structure, but with certain touches can work into any theme.


Fabric swatches make perfect rugs, especially those from interior design centers, since they’re already hemmed and lay flat.


I always had in mind a fireplace for this room; I pictured Klara being able to ‘call’ her parents, talking to them in the flames. The mantle piece is decorated with crayon candles (see my Candle How To blog). The ‘portrait’ over the fireplace is a painting of her father, a gorgeous pic found on Deviantart of a male version of Maleficent! It went perfectly with the color scheme of the room, and honestly this is how I picture Klara’s Dad. The other ‘artworks’ are shots from Matthew Bourne’s Sleeping Beauty.


This entire wall was part of the first version of Klara’s room. The alcove adds more 3d realism to it, plus makes a lovely perch for Klara to read when she wants to look out on a dark night. The different stone wall adds a nice contrast to the rest of the gothic room, making it more suburban and not so castle drafty! 

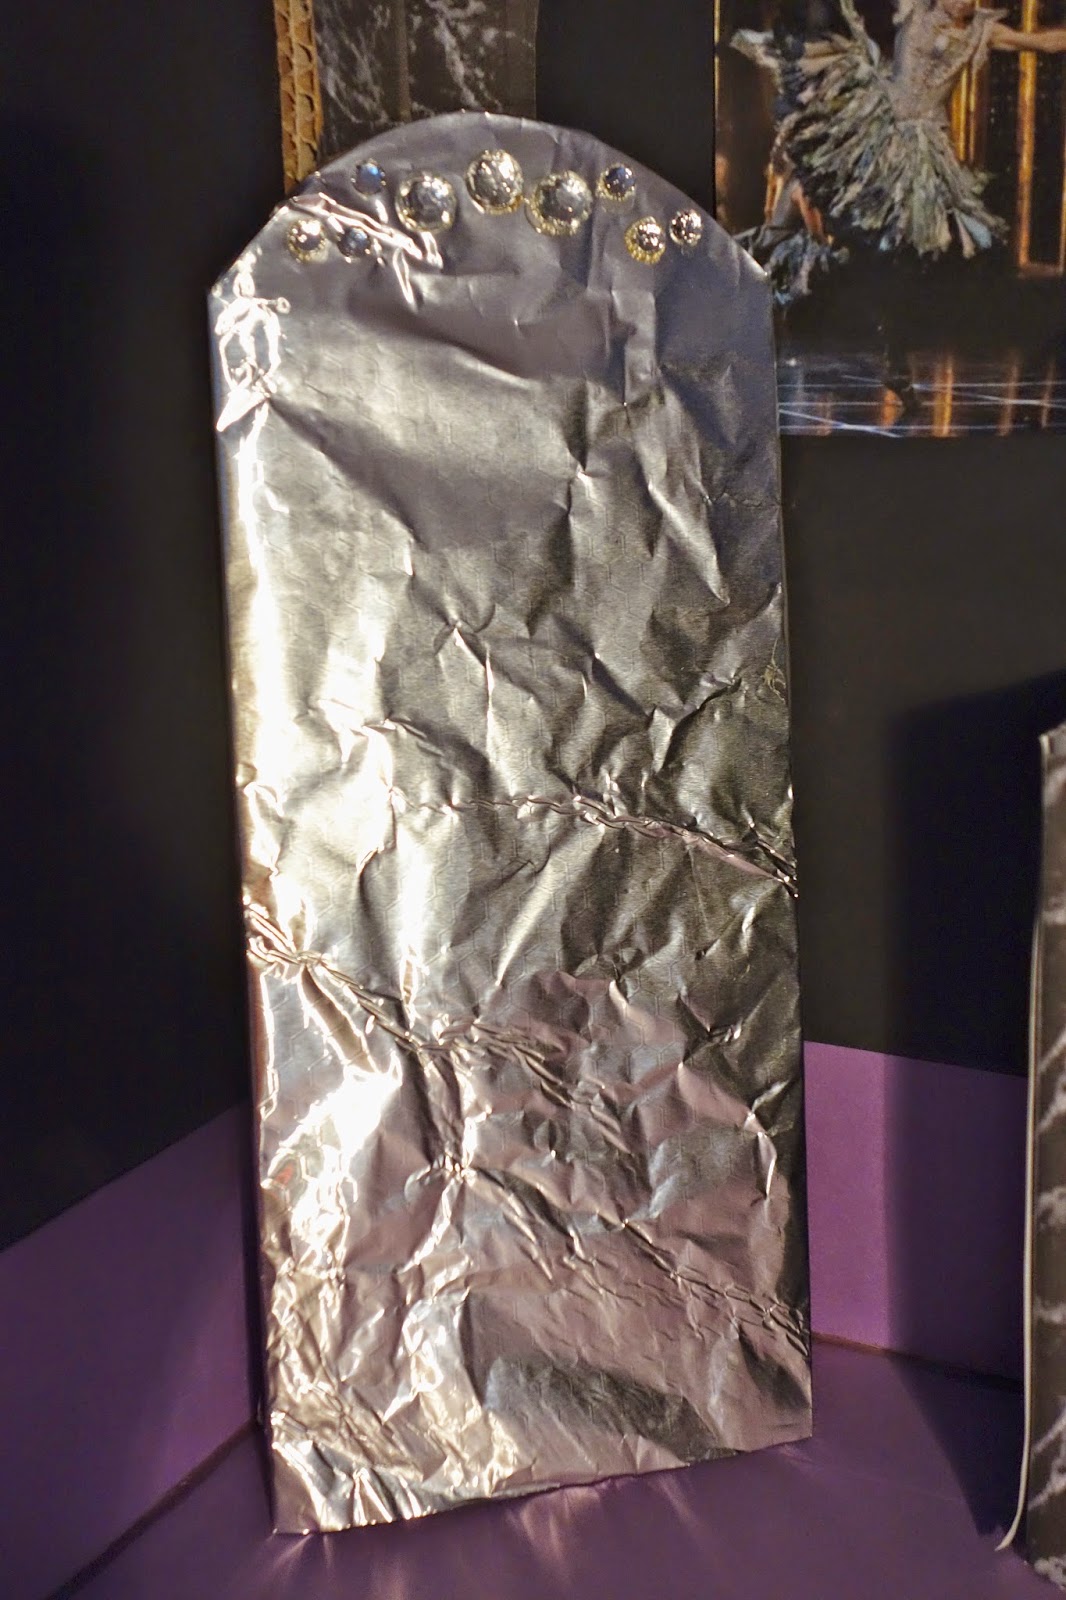
With her vintage style, Klara’s room demanded a mirror. I made this one up in about 5 minutes, covering a rectangular shape in tinfoil and adding some plastic rhinestones for decor. It can also be decorated with a frame outline, but here it works on its own.


The bookshelf (a painted plywood Christmas ornament box) makes a great bookshelf structure and adds a more homely feel to the room. The more varied the objects it’s decorated with, from a tiny cameo to books, the more the doll’s personality seems real! 
Klara and her pet hamster Viola look right at home here, surrounded by things some may consider creepy, but she finds richly historical. Her antique business is sure to thrive here.


Saturday, 9 August 2014

How to Make Doll Candles


Candles add such an atmospheric element to any room. I got the idea for this feature from Julie Shelton’s ‘The Dream Dollhouse’, using crayons or birthday cake candles. I liked the bulkiness of crayons, they seem more like chic colored scented candles. This project is super easy, and a single box of crayons (I got mine for £1 at Tesco’s) provide tons of color palettes to suit every room in your dollhouse.
Materials:
1 packet of Crayons (any width, but I urge the thicker the better!)
1 cutting craft knife (USE WITH CAUTION)
Cutting board
All purpose glue


  1. Cut your crayon into different length sections, depending on your choice. Be use to make your cut as even as possible so the finished product sits up straight.
  2. Peel away the paper wrapping from the wax crayon
  3. Range your candles in whatever display design you wish, dabbing a little glue on one end of each to glue into place for stability